Power Meters
How to Calibrate a Power Meter
It takes fifteen seconds, almost nobody does it correctly, and getting it right is the difference between numbers you can trust and numbers that quietly drift all winter.
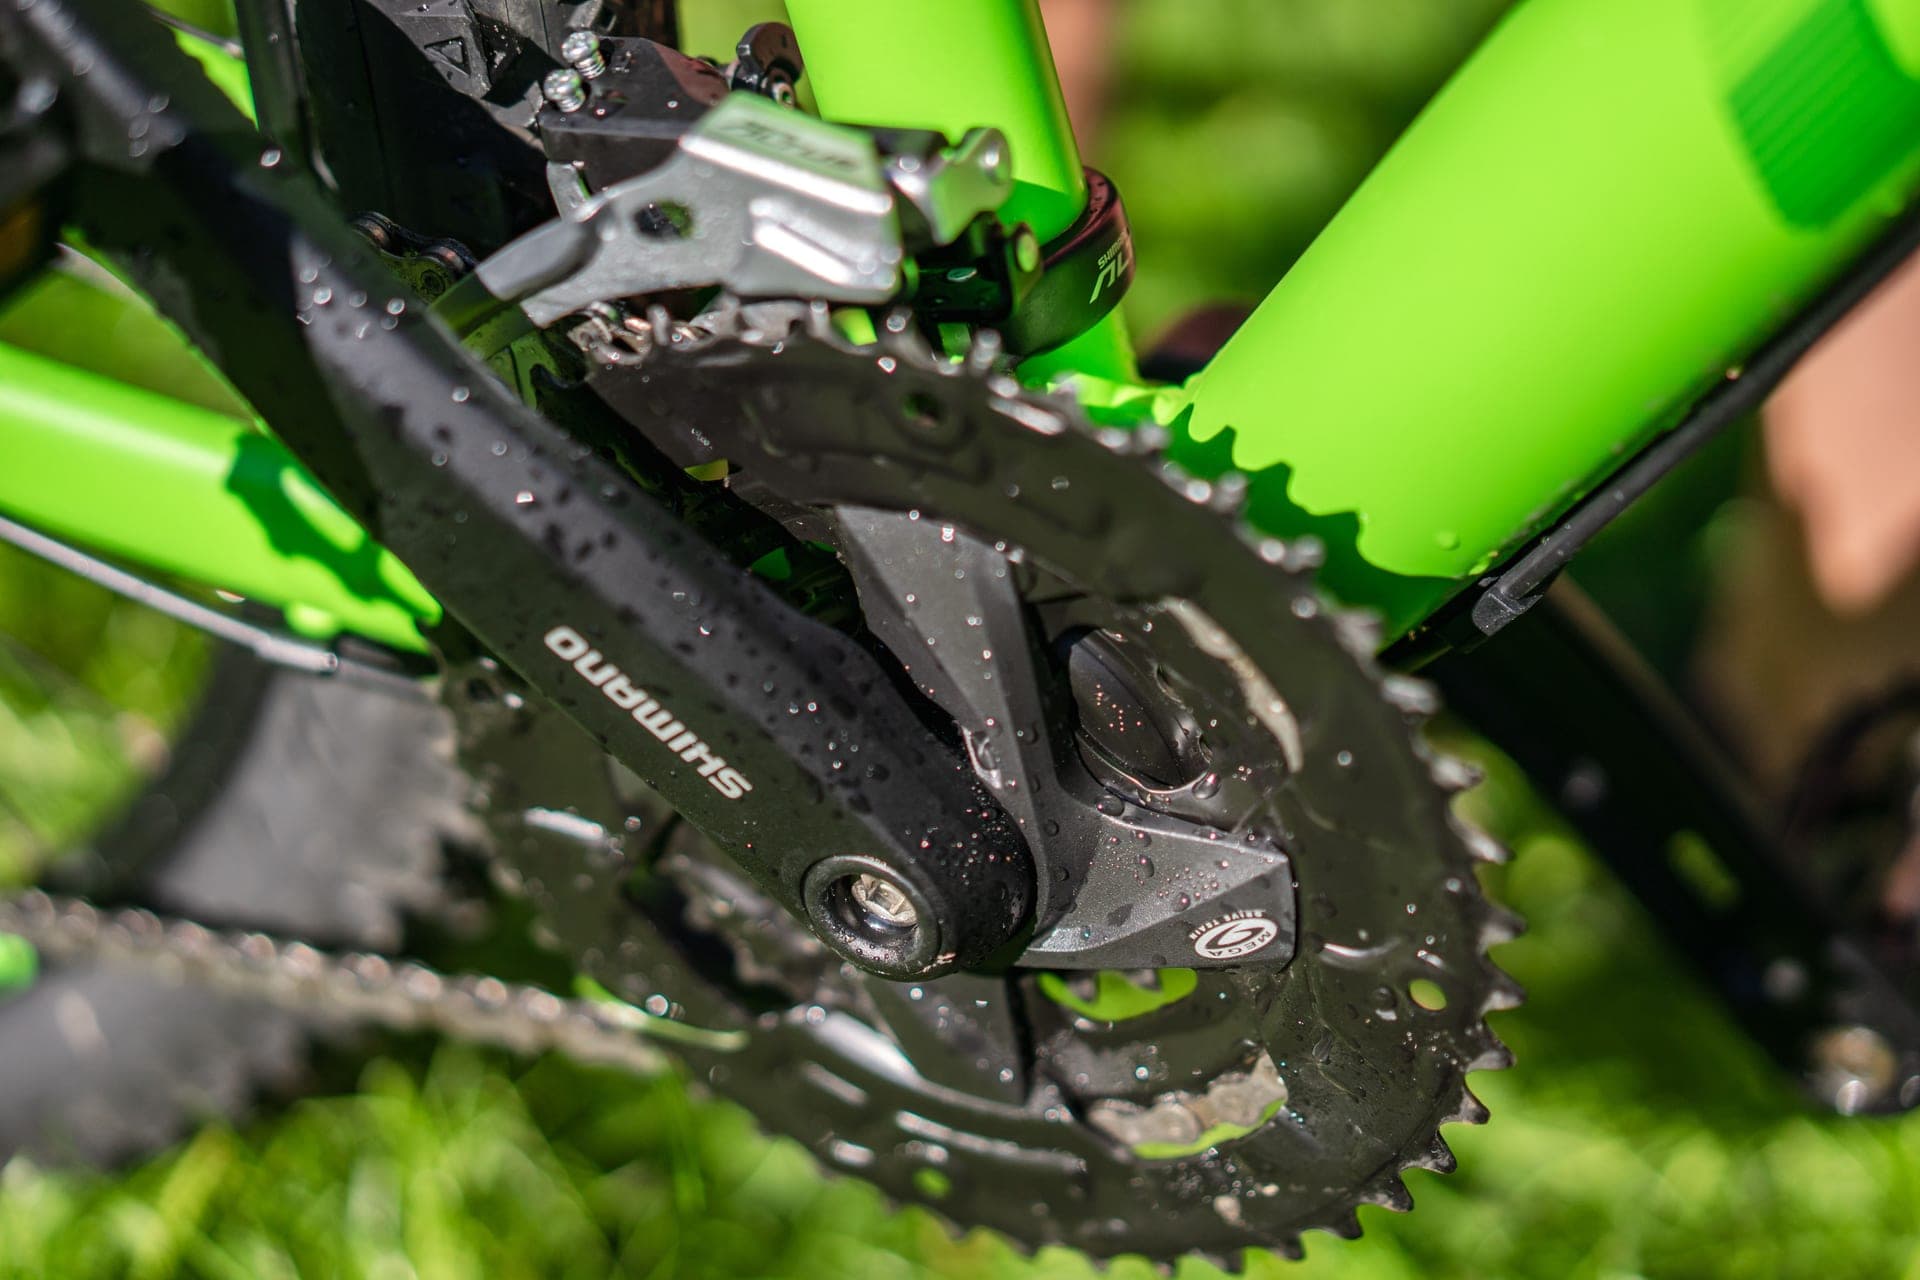
A power meter does not measure watts. It measures the tiny amount a piece of metal bends under load, converts that to force, multiplies by the speed that force is moving, and reports the result. That chain is only as good as its starting point — the reading the meter gets when nothing at all is pushing on it. Establishing that starting point is what the zero offset does, and it takes about fifteen seconds.
Calibration versus zero offset: the words matter
Strictly speaking, calibration means comparing the meter against a known reference — hanging a known weight from a horizontal crank arm and checking that the reported torque matches. Most riders never do this, and most meters do not require it. It is a manufacturer or workshop procedure.
What your head unit or phone app offers under a button labeled "Calibrate" is almost always a zero offset: the meter reads its own strain gauges with no load applied and stores that value as zero. Everything it reports afterwards is measured relative to that stored number. If the stored zero is wrong, every watt you record that day is wrong by a proportional amount, and you will never see the error — the numbers will just look slightly different from usual.
The routine, step by step
1. Let it reach temperature. This is the step everyone skips and the one that matters most. Strain gauges are temperature sensitive, so a meter that has been in a cold garage will read differently once it has warmed up in a heated room, and a meter that has come out of a warm house into winter air will drift for the first several minutes of a ride. Give it five to ten minutes wherever you are about to ride.
2. Position the bike. Stationary, upright, on level ground or in the trainer. Put the cranks vertical — one arm straight down, one straight up. For pedal-based meters this matters more than people expect, because the meter needs a consistent gravitational reference.
3. Take your feet off. Not resting lightly. Off. Any load at all, including the weight of a shoe, becomes the new definition of zero. This is the second most common mistake after skipping the temperature soak.
4. Wake the meter. Most meters sleep. Spin the cranks backwards a few turns, or forwards briefly, so the head unit sees it, then let it come to a complete stop.
5. Run the zero offset from your head unit or the manufacturer's app, and note the number it returns. That last part is the whole point, and the next section explains why.
Temperature is the whole game
If you remember one thing from this page, make it this. Almost every case of "my power meter reads high today" comes down to temperature, and almost every one is preventable.
Metal expands and contracts as it warms and cools, and a strain gauge cannot distinguish between a crank bending because you pushed it and a crank changing shape because it got cold. Better meters compensate for this in firmware using an onboard temperature sensor, and the good ones do it well — but compensation works from a sensible starting point, and a zero offset taken in a warm kitchen before a ride into freezing air is not a sensible starting point.
The practical rules: take the offset where you will ride, not where you store the bike. Re-run it if you have moved the bike between very different environments. And on a long winter ride where the temperature drops significantly, it is entirely reasonable to stop and re-zero mid-ride.
| Situation | Re-zero? | Why |
|---|---|---|
| Before every ride | Ideal | Fifteen seconds, removes the most common source of error |
| Temperature changed significantly | Yes, always | Strain gauges are temperature sensitive |
| Battery replaced or recharged | Yes, always | Power cycling can shift the stored baseline |
| Meter removed and refitted | Yes, always | Installation torque changes the resting strain |
| Numbers look unusually high or low | Yes, first thing | It is the cheapest possible diagnosis |
| Mid-ride in a big temperature drop | Reasonable | Compensation works better from a fresh baseline |
| Between two intervals in the same session | No | Nothing has changed; you are just adding noise |
Doing it on a smart trainer
If your power meter lives on a bike that spends the winter on a smart trainer, the routine is the same with one addition: your trainer probably wants a spindown of its own, and the two are separate procedures measuring different things. The power meter zero-offset happens at a standstill; the trainer spindown happens after a warm-up ride and measures how long the flywheel takes to slow. Doing one does not do the other. We cover the trainer side in how to calibrate a smart trainer.
Indoors, temperature works against you in the opposite direction from outdoors: a trainer room heats up as you ride, and so does everything in it. Zero the meter after a few minutes of easy spinning rather than the instant you clip in, and you will get a baseline closer to the conditions you will actually train in.
Why your power meter and your trainer disagree
This is the question calibration is usually really about, so it is worth answering directly: a small, consistent gap between a power meter and a trainer is normal and is not a fault.
They measure at different points in the drivetrain. A pedal or crank meter measures the power you applied. A trainer measures what arrived at the flywheel, which is what survived the chain, the cassette and the pulleys. Drivetrain losses are real, so the trainer will typically read a little lower. Add each device's own tolerance — two devices each claiming ±1% can legitimately sit 2% apart — and a small gap is arithmetic, not failure.
The correct response is not to chase agreement. It is to pick one source and stay with it. Most riders with both set the power meter as the power source in their app and the trainer as the controllable device, which gives one consistent number indoors and out. Our accuracy guide makes the full argument, and smart trainer vs power meter covers which to buy first if you only have one.
When calibration is not the problem
A zero offset is the first thing to try and it fixes a lot. Here is what it will not fix.
Numbers that jump around within a ride. Erratic readings usually point at a connection problem, a dying battery, or a loose fitting — not a bad baseline. Check the battery first, then the pedal or crank torque.
Power dropping to zero intermittently. That is a radio problem. Bluetooth connections degrade with distance and interference; ANT+ is more robust in crowded environments. Our ANT+ adapter guide is the practical fix for indoor setups, and connection troubleshooting walks through the rest.
A single-sided meter that will not match a dual-sided one. That is not error, it is design — one leg doubled versus two legs measured. See single vs dual-sided.
An offset value that has moved a long way and will not come back. That is a hardware conversation with the manufacturer, and the value you wrote down earlier is the evidence that makes it a short one.
A sensible habit
Build it into clipping in. Bike on the trainer or wheeled outside, five minutes of the meter sitting at ambient temperature while you fill bottles and find the workout, cranks vertical, feet off, back-spin, zero, glance at the number, ride. It costs you nothing and it removes the single largest source of avoidable error in the data your whole training plan is built on.
If you are still choosing a meter, our best power meters roundup ranks the field, and best crank power meters covers the cheaper route in. Some units — notably several crank meters — will also re-zero themselves automatically when you back-pedal, which is a genuinely useful feature to look for.
Calibration is the second of three steps that decide whether your data is worth anything. The first is installation — fitting the meter changes the resting strain inside it, which is why how to install a power meter covers the published torque figures and the crank-length entry that has to happen before the first ride. The third is understanding what the number can and cannot tell you, which is how accurate are power meters — in particular, why a consistent few percent of difference between your meter and your trainer is normal rather than a calibration failure.
Shopping rather than troubleshooting?
See the best power meters, rankedDo the zero offset before you pair, not after — how to connect a power meter to Zwift explains why the order matters and which Zwift slot the meter belongs in.
A zero offset is also the step to perform after every battery change, which is a more frequent event than most owners expect — how long power meter batteries last compares the published coin-cell and rechargeable figures, and explains how to tell a dying cell from a connection problem.
Good questions
Frequently asked questions
How often should I calibrate my power meter?
Before every ride is ideal and takes about fifteen seconds. At minimum, re-zero whenever the temperature has changed significantly, after a battery change or recharge, after the meter has been removed and refitted, and any time the numbers look unusual.
What is the difference between calibration and a zero offset?
True calibration compares the meter against a known reference, usually by hanging a known weight from a horizontal crank, and is a workshop procedure. A zero offset simply tells the meter what no-load looks like right now. The button labeled Calibrate on your head unit is almost always a zero offset.
Do I need to take my feet off the pedals to calibrate?
Yes, completely off. Any load at all during the zero offset, including just the weight of a resting shoe, gets recorded as the new definition of zero and shifts every subsequent reading. Cranks vertical, feet off, bike stationary.
Why does temperature affect a power meter?
Strain gauges measure how much metal bends, and metal also changes shape as it warms or cools. The meter cannot tell those apart from the gauge reading alone. Good units compensate in firmware, but compensation works best from a baseline taken at the temperature you are about to ride in.
Why does my power meter read differently from my smart trainer?
Because they measure at different points. The power meter sees what you applied at the pedals or cranks; the trainer sees what survived the drivetrain, which is a few percent less. Each device's own tolerance adds to the gap. Pick one as your power source and use it consistently rather than chasing agreement.
What should the zero offset number be?
There is no universal correct value — manufacturers use different scales. What matters is whether your meter's value is stable over time. Note it once, check it occasionally, and treat a large persistent shift as an early warning of a loose fitting, water ingress, a failing battery or a damaged gauge.
How we sourced this
Keep going