Indoor Setup
Pain Cave Setup Ideas That Survive a Winter
A good pain cave is a room you walk into willingly at 6am. Layout, airflow, noise and the upgrade order that gets you there — with the honest list of what to skip.
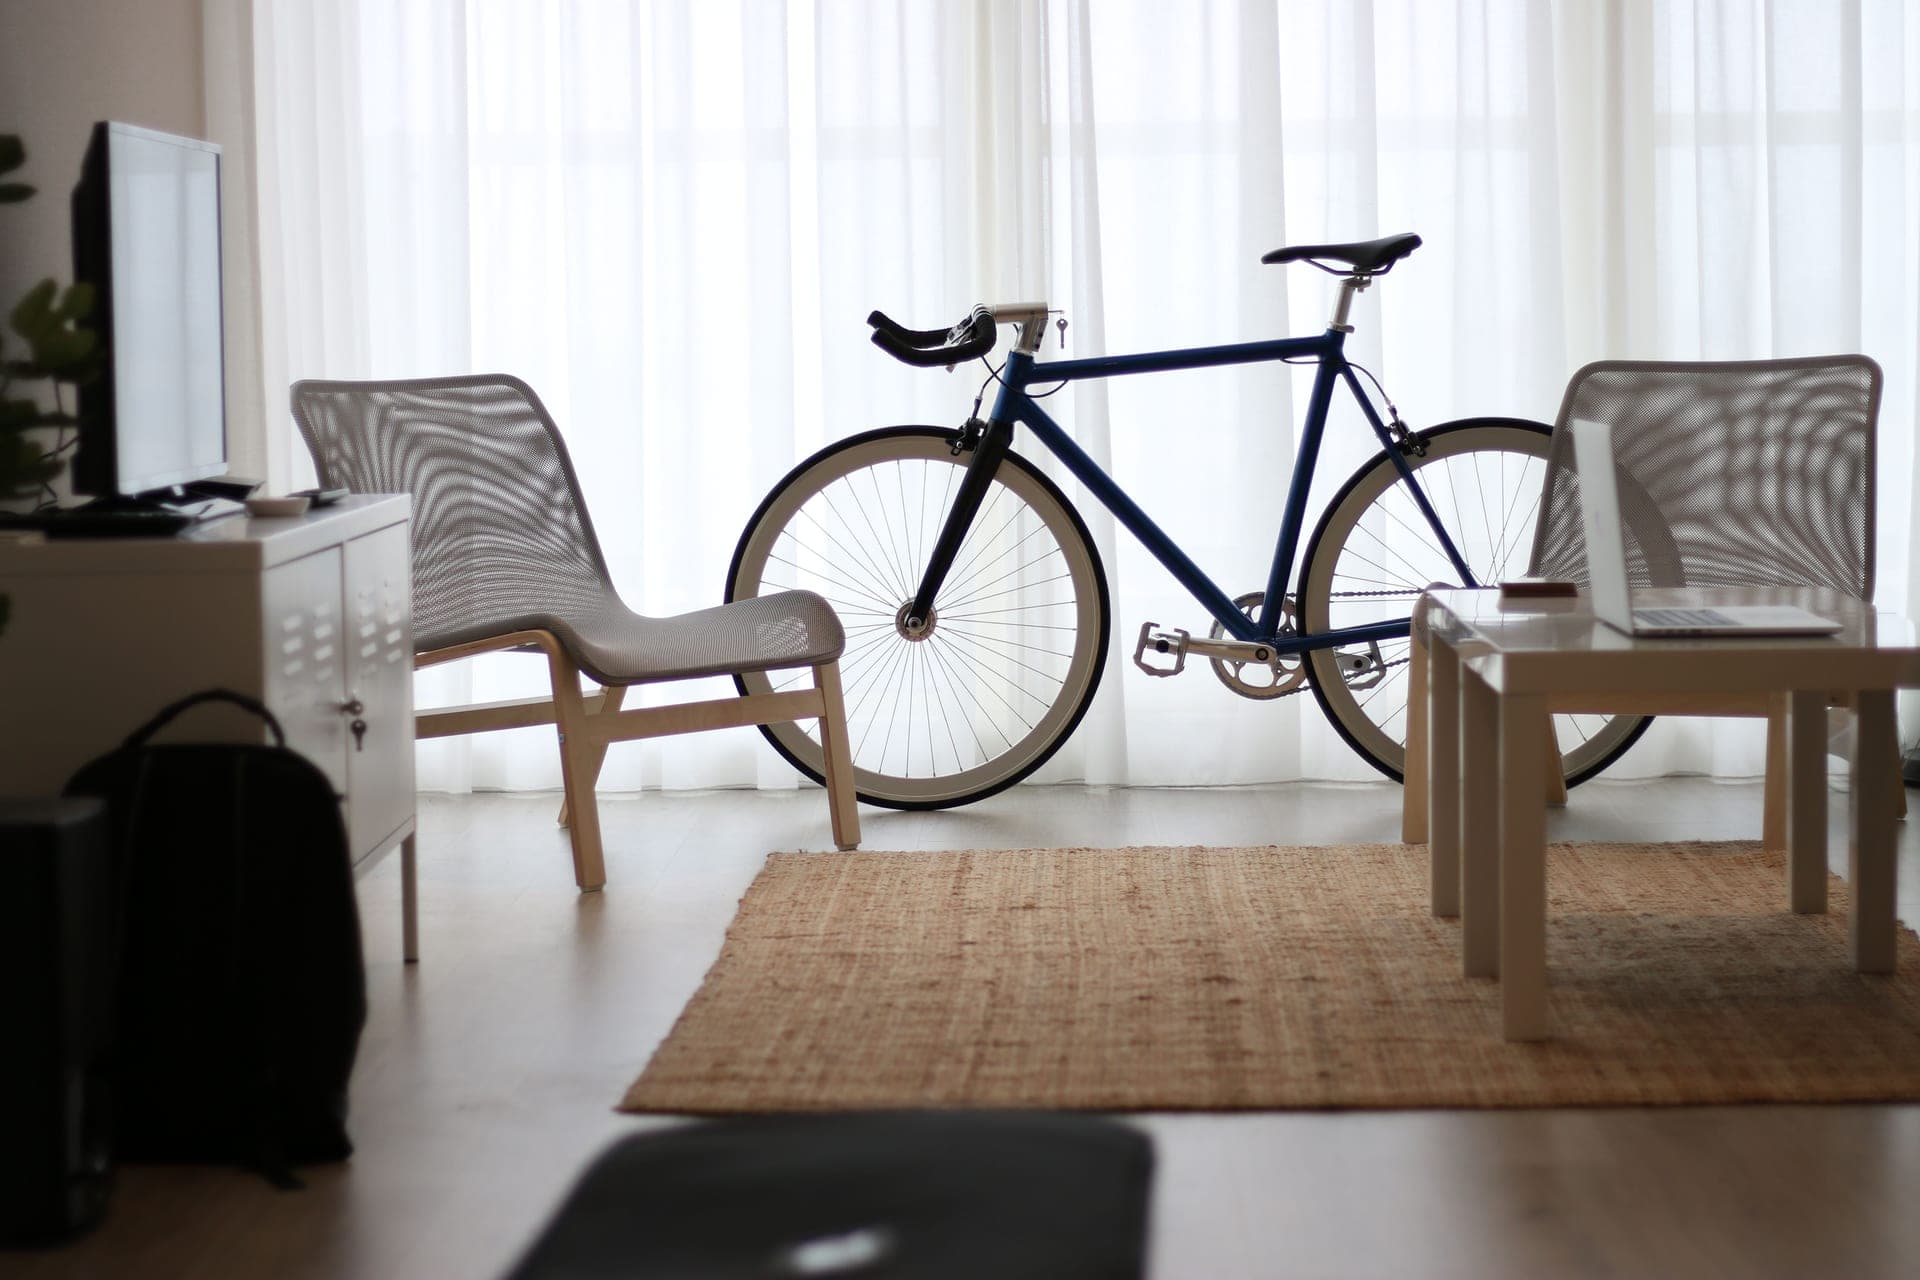
The short answer
Quick picks
| # | Product | Best for | Score | Price |
|---|---|---|---|---|
| 1 | 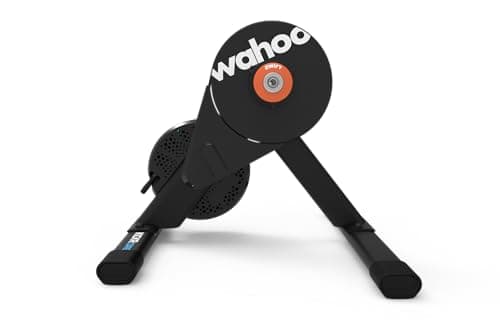 Wahoo Kickr Core 2 The trainer to build a room around: quiet, compact, accurate enough, and part of an ecosystem you can grow into. | The centerpiece | 9.09.0 out of 10 | $549.99 · View on Amazon #ad We may earn a commission · Price as of October 22, 2026 |
| 2 | 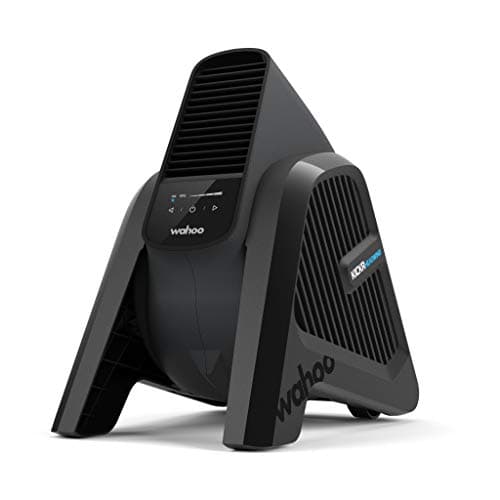 Wahoo Kickr Headwind The luxury that is actually a training tool: shaped airflow that ramps with your effort, so you never stop to adjust it. | The airflow | 8.58.5 out of 10 | $319.99 · View on Amazon #ad We may earn a commission · Price as of October 22, 2026 |
| 3 | 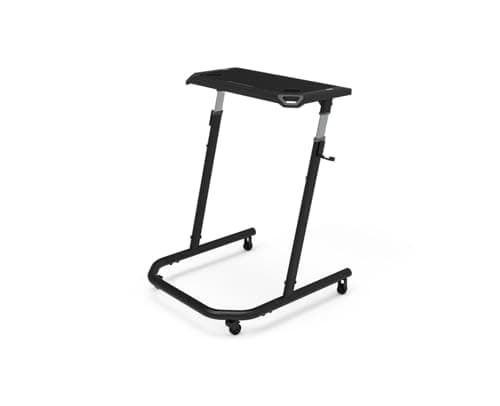 Wahoo Kickr Desk V2 The accessory that turns a bike in a room into a cockpit — everything in reach, nothing to lean off the bike for. | The cockpit | 8.38.3 out of 10 | $229.99 · View on Amazon #ad We may earn a commission · Price as of October 22, 2026 |
| 4 | 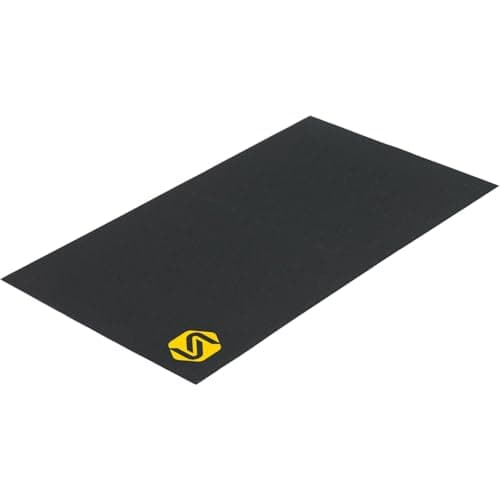 Saris Trainer Mat The cheapest thing on this list and the one that makes the room feel permanent — plus it saves your floor. | The floor | 8.58.5 out of 10 | $79.99 · View on Amazon #ad We may earn a commission · Price as of October 22, 2026 |
| 5 | 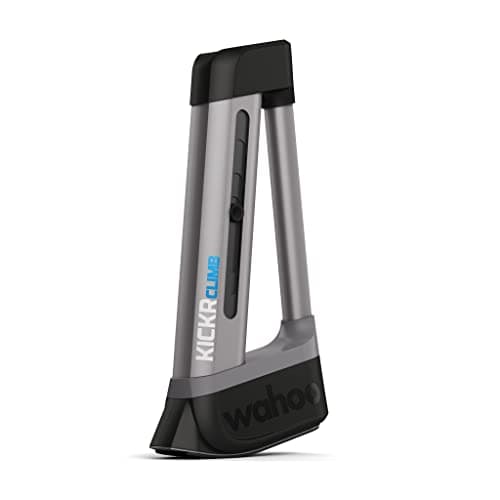 Wahoo Kickr Climb The pure-immersion upgrade: it changes how climbing feels, not how fast you get. Buy it last, and only if the rest is done. | The upgrade to grow into | 8.28.2 out of 10 |
The best pain cave is not the most expensive one. It is the one you walk into without negotiating with yourself first. That comes down to four things — heat, noise, sightlines and friction — and almost none of it is decided by which trainer you own. This guide is about the room rather than the hardware, with the equipment ranked in the order a real build should acquire it. If you want the component-by-component version, our best indoor cycling setup guide is the shopping list, and Zwift setup on a budget is the same idea with the money removed.
Air: the thing to overspend on
Riding indoors removes the 20 mph breeze that normally strips heat off you outdoors. What replaces it has to be deliberate. The failure mode is not discomfort — it is that your heart rate drifts upward at the same wattage until you cut the session short and conclude you were having a bad day.
Point air at your chest and face, not your legs. One strong fan beats two weak ones, and two strong fans beat one, so if the room is warm, add rather than upgrade. Where possible, open a door or window to give the hot air somewhere to go; a sealed garage becomes an oven within twenty minutes regardless of how much air you move around inside it. The full field is in our fan roundup.
Layout: build the cockpit around the bars
Sit on the bike and look at where your hands and eyes naturally go. That is where the screen, the bottles, the towel and the phone should live. Every item outside that zone costs you a lean, a stop, or a lost interval.
A trainer desk is the tidy answer, and a stool or an ironing board is the improvised one — both work. The screen wants to be roughly at eye level when you are on the hoods, close enough to read the numbers without squinting. Mounting a monitor on the wall is the cleanest solution in a permanent cave and removes a piece of furniture entirely. Options for the desk are in our trainer desk roundup, and what size screen actually works at that distance is in our Zwift screen roundup.
| Stage | What you add | What it fixes | Skip if |
|---|---|---|---|
| 1 | Trainer + mat | Training capability, floor protection | Never skip |
| 2 | Fan | Overheating, drifting heart rate | Never skip |
| 3 | Screen at eye level | Boredom, neck strain | You ride with music only |
| 4 | Desk or surface | Reaching, dropping, stopping | You have a stool that works |
| 5 | Heart rate strap | Pacing and recovery data | Your plan is power-only |
| 6 | Second fan / better fan | Heat in a warm room | The room stays cool |
| 7 | Gradient simulator | Immersion on climbs | Anything above is unfinished |
Noise: what the neighbors actually hear
There are two noises and they need different fixes. Airborne noise is the hum of a tire on a drum, your drivetrain, and the fan. Structure-borne noise is vibration traveling through the floor into the room below, and it is what usually generates complaints in an apartment.
A direct-drive trainer removes most of the airborne noise by removing the tire. A trainer mat handles a good deal of the structure-borne component. If you are on an upper floor and the mat is not enough, a second layer of dense foam or rubber under the mat helps more than any trainer upgrade will. The fan, ironically, often ends up the loudest thing in a well-built cave — and that is a trade worth making.
Keeping it built is the whole trick
The strongest predictor of how much you ride indoors is how many steps stand between arriving in the room and turning the pedals. A bike permanently mounted, a screen permanently on, a fan permanently aimed, shoes and a towel already there — that is a five-second start. A bike that has to be stripped and mounted is a five-minute start, and on a marginal evening five minutes is enough to lose.
If your setup has to be broken down between rides, invest in whatever removes the most steps: a second wheel with a trainer tire that swaps in seconds, a second bike that lives on the trainer, or eventually a smart bike that removes the bike question entirely.
Starting from scratch?
See the best smart trainers to build aroundSmall things that punch above their price
A sweat guard stretched between your bars and seatpost stops corrosive sweat running into your headset and bottom bracket — a few dollars against a rusted bearing. A towel and a bottle cage on the desk means you never lean off the bike. A proper indoor tire on a wheel-on setup halves the noise and the dust. A dedicated pair of indoor shoes keeps outdoor grit out of the room. None of these costs much and all of them remove a reason not to ride.
On the other side of the ledger: heated grips, elaborate lighting, and any accessory sold on immersion rather than function are the last things to buy, not the first. They are pleasant. They are also the things people buy instead of a second fan, which is a mistake we would rather you did not make.
The finished cave
A complete pain cave has a trainer you trust, more airflow than you think you need, a mat, a screen at eye level, a surface within reach, and nothing between the door and the pedals. Build that, and every additional purchase is genuinely optional — which is exactly the position you want to be in when the next shiny gradient simulator appears.
For the platform side of the build, our Zwift setup guide covers getting everything paired and talking, and best trainer for Zwift narrows the hardware to what the app handles best.
If the cockpit is the part of your setup still held together by a chair and a stack of boxes, our Wahoo Kickr Desk V2 review compares the purpose-built option against three much cheaper carts.
Two details decide how finished a pain cave feels. Getting the screen to bar height is the cheapest of them — the best tablet stands and holders for Zwift covers the options from a folding tripod to a full cockpit. And if the trainer is the thing you are still choosing, Elite Justo vs Wahoo Kickr v6 is the top-of-market comparison.
The full reviews
Every pick, in detail
#1 · The centerpiece
Wahoo Kickr Core 2
9.09.0 out of 10#ad We may earn a commission · Price as of October 22, 2026
The trainer to build a room around: quiet, compact, accurate enough, and part of an ecosystem you can grow into.
- Type
- Direct drive
- Claimed accuracy
- ±2%
- Max resistance
- 1,800 W
- Max gradient
- 16%
- Flywheel
- 12 lb
- Footprint
- Compact, no wheel needed
What we'd praise
- Quiet enough for a shared house, because there is no tire on a roller
- Compact footprint — the bike sits lower and takes up less floor than a wheel-on setup
- Works with the wider Wahoo accessory ecosystem including the Climb
What we'd flag
- Cassette often sold separately, which is a real line item
- Needs mains power, so socket placement affects where the cave can go
A pain cave is designed around its trainer, and the Core is the one we would design around for most people. Direct drive means no tire noise traveling through the house, a lower and more compact footprint, and no rubber dust settling on everything in the room.
It also sits inside Wahoo's ecosystem, which matters if you plan to add a Kickr Climb or a Headwind later. Full detail in our Kickr Core 2 review.
#2 · The airflow
Wahoo Kickr Headwind
8.58.5 out of 10#ad We may earn a commission · Price as of October 22, 2026
The luxury that is actually a training tool: shaped airflow that ramps with your effort, so you never stop to adjust it.
- Type
- Bluetooth smart fan
- Airflow shape
- Focused, rider-shaped column
- Control
- Manual, heart rate or speed
- Placement
- Floor, in front of the bike
- Pairing
- Wahoo app and sensors
- Build
- Steel housing
What we'd praise
- Airflow is shaped to hit a rider on a bike rather than sprayed across a room
- Ramps automatically with your heart rate or speed, so you never reach down mid-interval
- The most powerful single-fan solution most caves will ever need
What we'd flag
- Costs many times a basic circulator that moves a comparable amount of air
- Large and heavy — this is a permanent fixture, not something you move
Heat management is the difference between a room you use and a room you avoid, and the Headwind is the most complete answer to it. The airflow column is shaped to hit a rider in the riding position rather than dispersing across a room, and it can ramp with heart rate or speed so the cooling matches the effort.
It is expensive for a fan, and a cheap circulator moves comparable air for far less — we say so plainly in our fan roundup. What you are buying is the shaping and the automation, and in a permanent cave both are genuinely worth something.
#3 · The cockpit
Wahoo Kickr Desk V2
8.38.3 out of 10#ad We may earn a commission · Price as of October 22, 2026
The accessory that turns a bike in a room into a cockpit — everything in reach, nothing to lean off the bike for.
- Type
- Height-adjustable trainer desk
- Surface
- Angled, non-slip, with a lip
- Mobility
- Casters
- Adjustment
- Tool-free height
- Placement
- Rolls over the front wheel
- Capacity
- Laptop, tablet, bottles, towel
What we'd praise
- Puts screen, bottles, phone and towel within reach without leaning off the bike
- Angled surface with a lip means nothing slides into your front wheel
- Casters let you roll it away when the room has another job to do
What we'd flag
- Expensive for what is fundamentally a rolling table
- Takes up meaningful floor space in a small room
The unglamorous truth about long indoor rides is that most interruptions are logistical: reaching for a bottle, retrieving a phone, mopping sweat off a screen. A trainer desk removes all of them by putting everything at bar height in front of you.
The V2 rolls over the front wheel, adjusts without tools and has a lip so nothing migrates off the front. It is expensive for a table, and cheaper rolling desks do most of the same job — we cover those in our trainer desk roundup.
#4 · The floor
Saris Trainer Mat
8.58.5 out of 10#ad We may earn a commission · Price as of October 22, 2026
The cheapest thing on this list and the one that makes the room feel permanent — plus it saves your floor.
- Type
- Trainer floor mat
- Job
- Sweat, vibration, floor protection
- Surface
- Wipe-clean
- Storage
- Rolls up
- Coverage
- Trainer plus front wheel
- Use
- Any trainer type
What we'd praise
- Defines the space — a cave starts to feel like a room the moment the mat goes down
- Catches sweat before it reaches the floor, which is the damage that actually happens
- Damps vibration transmitted into the floor and the ceiling below
What we'd flag
- Any decent exercise mat does most of this for less
- Needs wiping down regularly or it becomes the smell of the room
The mat is the first thing to buy and the last thing anyone talks about. It protects the floor from sweat, which is the damage that actually occurs, and it stops the trainer creeping across a hard surface during hard efforts.
It also does something psychological: a mat marks out the cave as a place, which makes the setup feel permanent and gets used more. Alternatives are in our trainer mat roundup.
#5 · The upgrade to grow into
Wahoo Kickr Climb
8.28.2 out of 10The pure-immersion upgrade: it changes how climbing feels, not how fast you get. Buy it last, and only if the rest is done.
- Type
- Gradient simulator
- Function
- Raises and lowers the front of the bike
- Compatibility
- Compatible Wahoo Kickr trainers
- Control
- Automatic, follows the app gradient
- Install
- Replaces the front wheel
- Placement
- In front of the trainer
What we'd praise
- Changes your position on climbs and descents, which changes which muscles work
- Fully automatic — it follows the gradient in Zwift with no input from you
- Removes the need for a front wheel riser block entirely
What we'd flag
- Costs as much as a decent trainer and adds nothing to your power numbers
- Only works with compatible Wahoo trainers, so it locks you into an ecosystem
The Climb replaces your front wheel and physically raises and lowers the front of the bike to match the gradient in Zwift. It is the most convincing simulation upgrade available for a conventional trainer, and it does change something real: your position, and therefore which muscles are loaded, shifts on a climb the way it does outdoors.
It is also the definition of a want rather than a need. It adds nothing to your data and nothing to your fitness. Buy it when the trainer, the fan, the mat and the screen are all sorted — never before. Full detail in our Kickr Climb review.
Good questions
Frequently asked questions
What do I actually need to build a pain cave?
A trainer, a mat, a fan, and a screen at eye level. That is the complete functional set. A desk, heart rate strap, second fan and gradient simulator all improve the experience, but none of them determines whether the room works as a place to train.
How much airflow does a pain cave need?
More than most people install. Indoor riding removes the airflow you get outdoors, so heat builds until your heart rate drifts upward at the same wattage. Aim air at your chest and face, use one strong fan rather than two weak ones, and add a second fan rather than upgrading if the room is warm.
How do I make a trainer quieter for neighbors below?
Deal with structure-borne vibration rather than airborne noise. A trainer mat is the first step, and a dense foam or rubber layer underneath it helps more than any trainer upgrade. Switching from a wheel-on to a direct-drive trainer removes the tire hum that is the loudest airborne source.
Where should the screen go in a pain cave?
Roughly at eye level when you are riding on the hoods, and close enough to read the numbers without squinting. Wall-mounting a monitor is the cleanest solution in a permanent setup because it removes a piece of furniture and fixes the height permanently.
Is a gradient simulator like the Kickr Climb worth buying?
Only once everything else is done. It changes your position on climbs and descents, which changes how climbing feels and which muscles are loaded, but it adds nothing to your power data or your fitness. Treat it as the final upgrade rather than an early one.
Can a pain cave work in a small apartment?
Yes. A direct-drive trainer has a smaller footprint than a wheel-on setup and makes far less noise, a mat contains sweat and vibration, and a wall-mounted screen saves floor space. The main constraint is heat, so plan for airflow and a way to vent warm air out of the room.
How we sourced this
Keep going